Surgery Data Acquisition
Required Materials and Technology:
The pre-planning data acquisition requires the following items for you to successfully complete this appointment. Substitution of any materials is at the operator own risk.
Technology:
Good quality Intra-oral scanner that produce a STL file:
ObiScanner facial scanner.
Materials:
Fi3LD Orientation Scan Marker®
FI3LD Universal Scan Bodies®
FI3LD Suture Caps®
FI3LD Bullets®
STV Tray®
Dental putty
Ivoclar OptraGate
Surgery Data Acquisition
Introduction
As a general rule of thumb, we require 15mm from the incisal edge to the MU abutment’s margins from the first molar to first molar with minimum cantilever.
Please follow universally accepted surgical AOX protocol which includes and not limited to adequate bone reduction, AP spread and correct MUA/SRA choice and placement.
IMPORTANT NOTE:
Like any digital workflow, some type of scanable marker will be required before, during and after the surgery is completed.
Analog surgery
You will need at least one well-anchored tooth or the Orientation Scan Marker® and Universal Scan Body for aliment purposes. Both options can be used in conjunction.
Guided surgery
You can substitute the tooth or Orientation Scan Marker® with the bone reduction guide. If you choose this technique, the records will be done with an open flap. Contact us to discuss small variations in technique.
Yomi Robotic
You can substitute the tooth or Orientation Scan Marker® with the Yomi Bone Link.
Pre-Surgery IOS Scan
Post Surgery IOS Scan Closed Flap
Place an Orientation Scan Marker
The marker is typically placed using a multi-unit driver, which ensures precise placement and stability.
To ensure the Orientation Scan Marker is securely in place, a small hole is pre-drilled with a 2.0 drill bit. The marker is then inserted into the hole and tightened using the multi-unit driver. This step is critical for ensuring the marker stays in the exact same place throughout the surgery.
In some cases, a stable tooth can be used as a marker instead of the Orientation Scan Marker® . Using a stable tooth as a marker can help to ensure accurate scanning.
It is also possible to use both an Orientation Scan Marker® and a stable tooth as markers if desired. This approach can provide an added layer of accuracy and ensure that the.
Universal Scan Body and Orientation Scan Marker®
Once the Orientation Scan Marker® is placed, position a Universal Scan Body® on top of the screw head.
Scan the patient with your Intra-oral-Scanner capturing the teeth, palate, vestibules, and the scan body. You may want to remove the AI from your Intra-oral scanner.
If using Guided Surgery
The Bone reduction guide is a perfect substitute for an Orientation Scan Marker®.
Scan the patient with your Intra-oral-scanner capturing all the teeth, palate, and as much of the guide as possible.
If using Yomi Robotic
The Yomi Link Bone is a perfect substitute for an Orientation Scan Marker®.
Scan the patient with your Intra-oral-scanner capturing all the teeth, palate, and as much of the bone link as possible.
2. Extractions/Bone Reduction, Implant/MUA Placement
Perform your surgery as usual following sound AOX techniques.
3. Place Suture Caps®
Prior to suturing, place and hand-tighten the Suture Caps® onto each MUA with the help of the same Multi-Unit driver used for the Orientation Scan Marker®.
Place Suture Caps® over the MU abutments and suture around them. Make sure not to cover the suture Caps® with tissue.
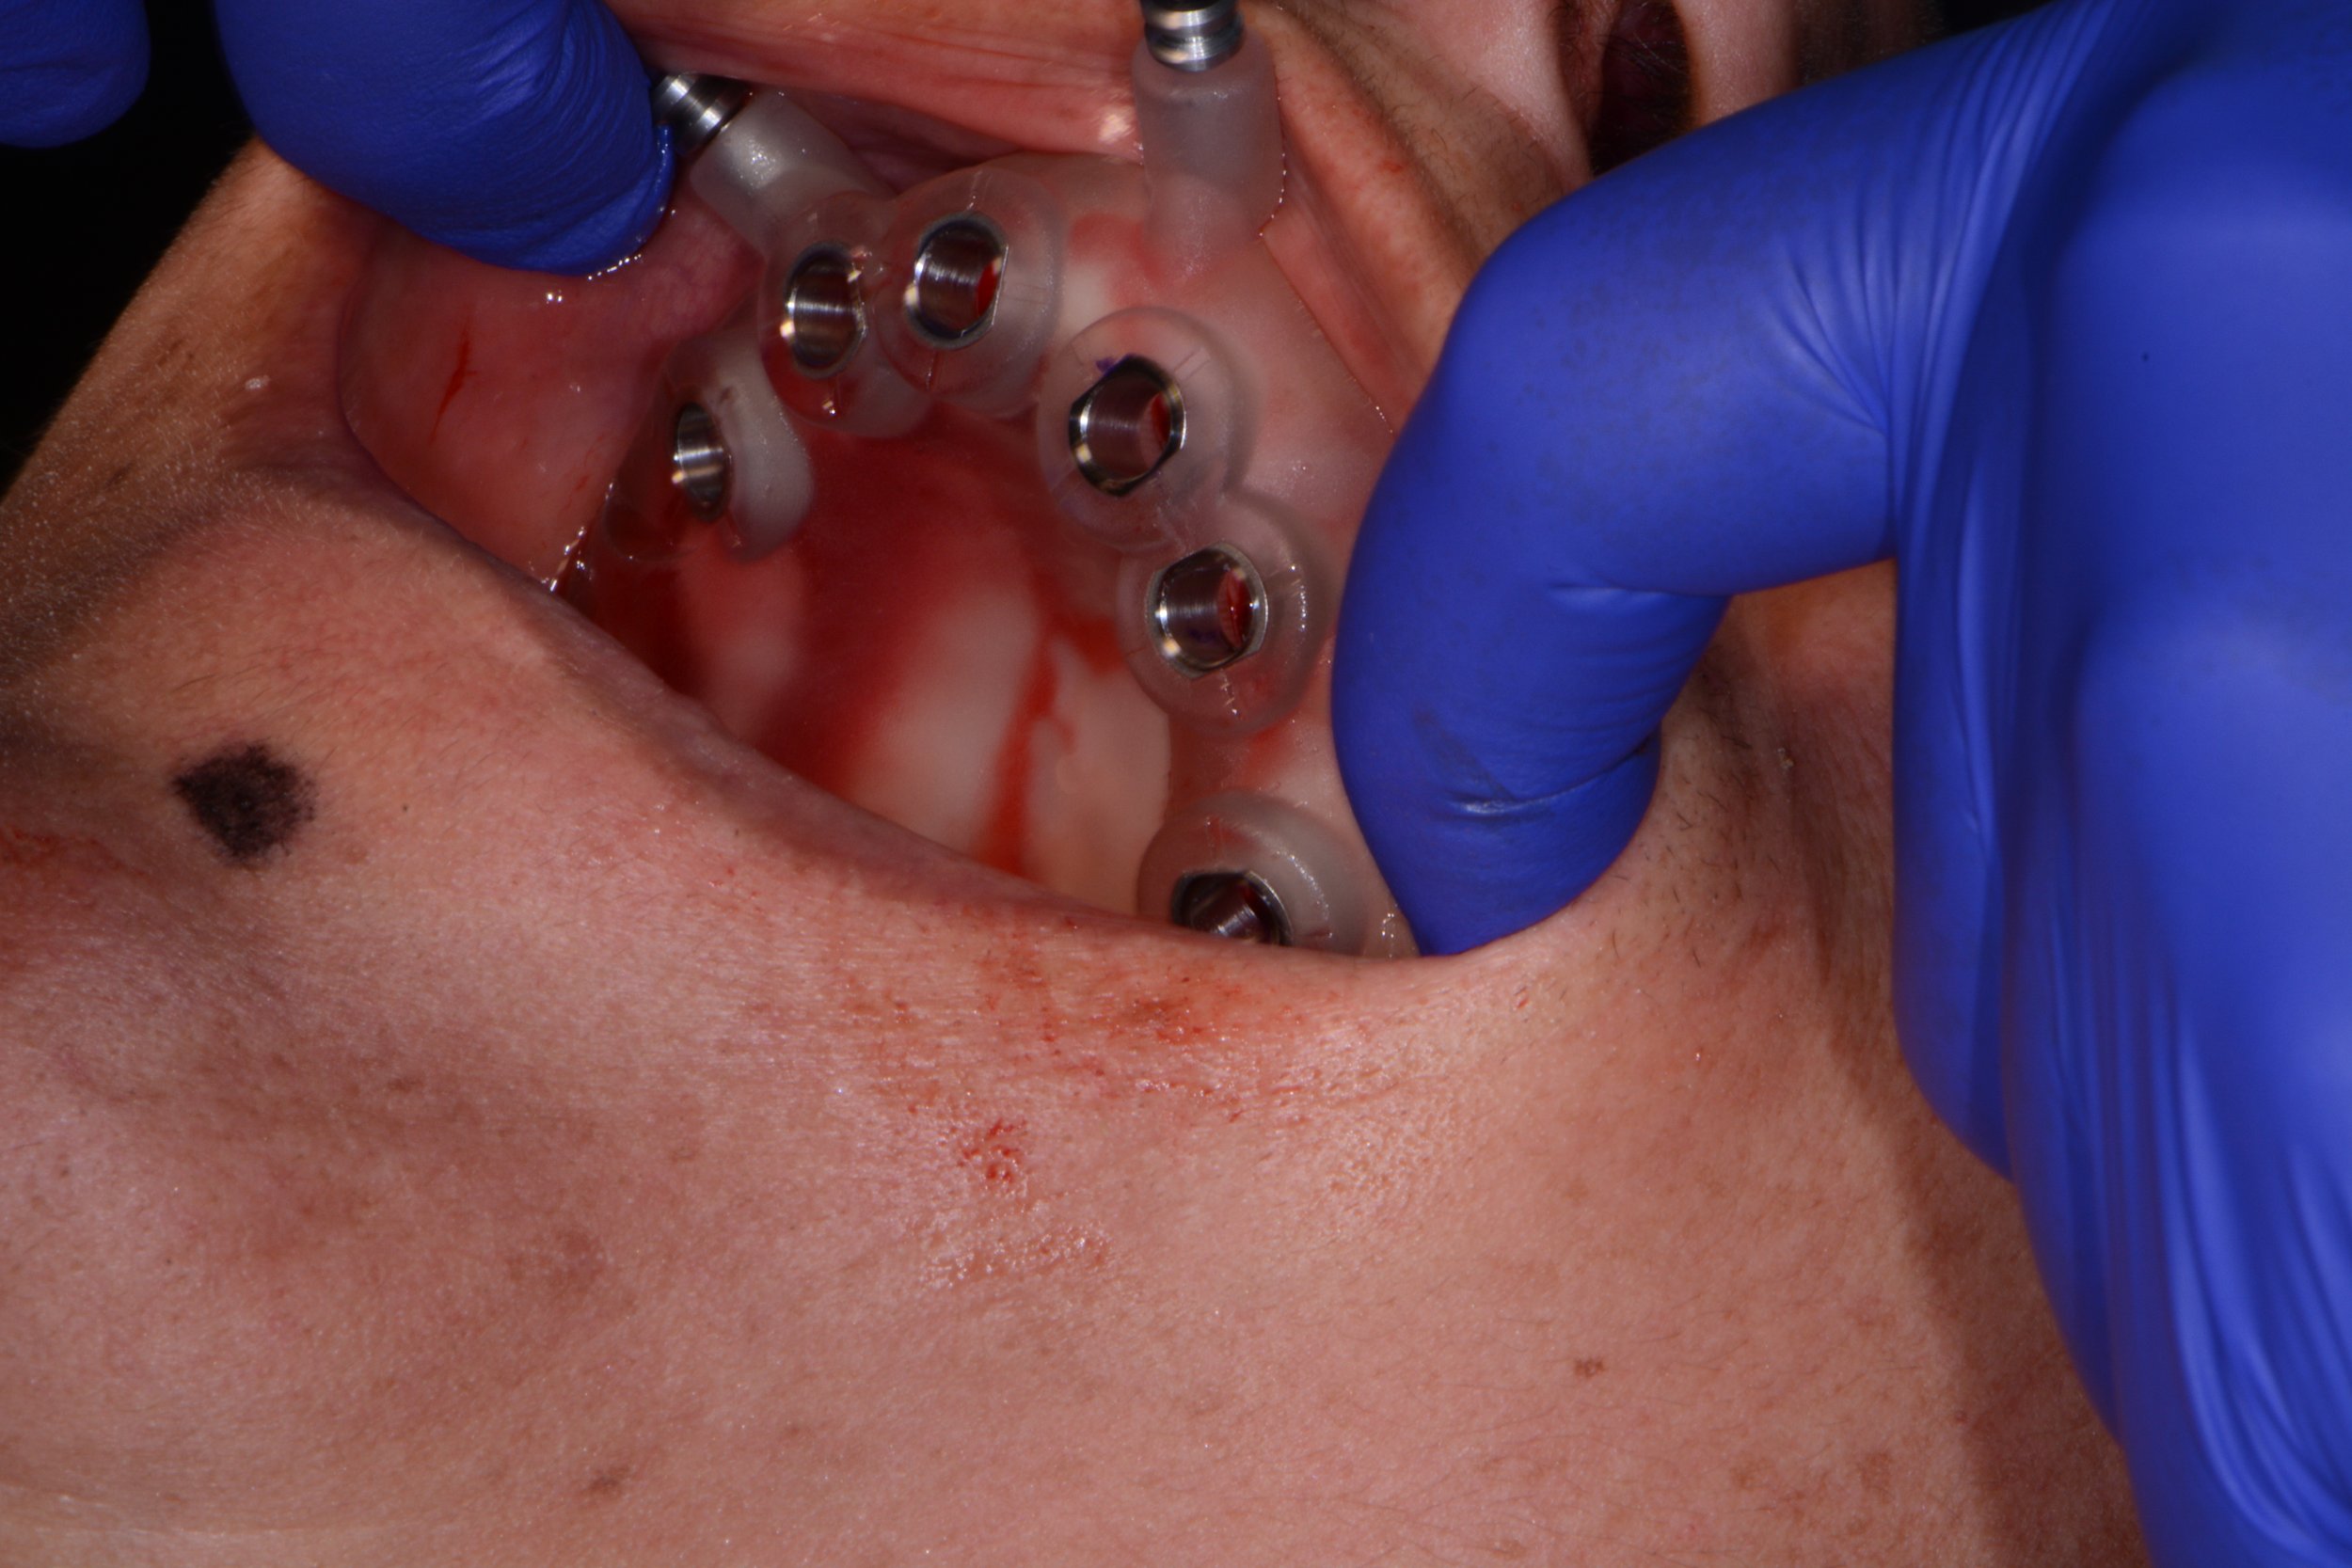
4. Place the Universal Scan Body®
Position each Universal Scan Body® over the Suture Caps®.
Hand tighten each screw with a .050 driver.
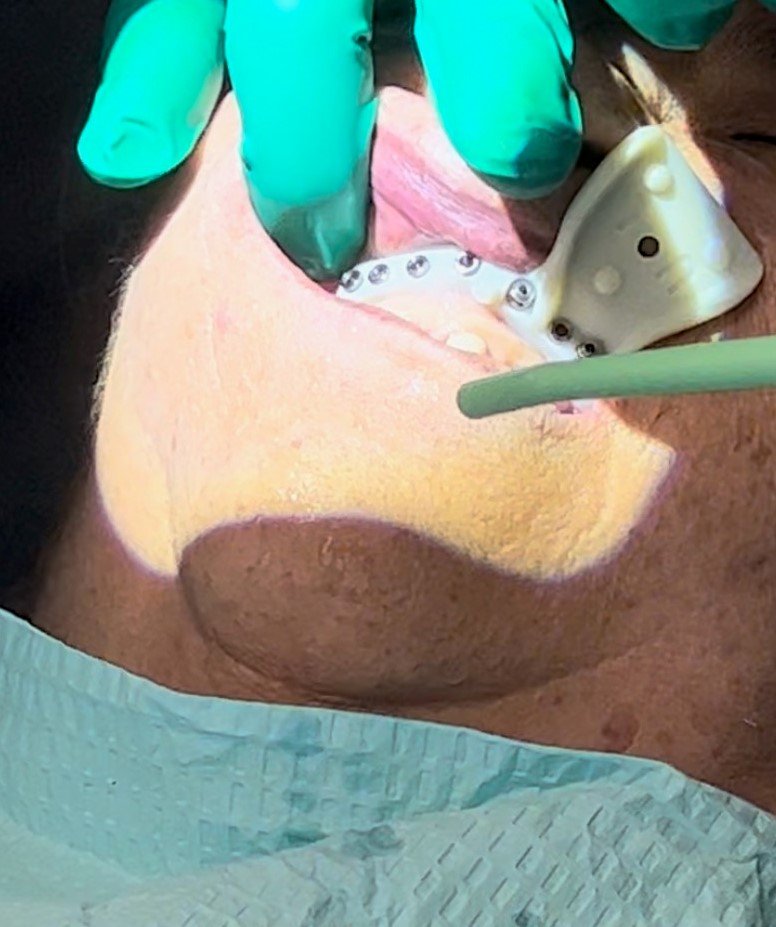
5. Position the STV Tray®
STV Tray® is utilized to keep blood, moisture and debris away from the scan bodies while allowing you to take extremely accurate IOS scans in seconds.
STV stands for S=Scan, T=tissue, V=Verification
Before proceeding to the next step in the process, it is important to try-in the tray to ensure that it fits correctly.
During the try-in process, pay close attention to the fit of the tray. You should not have to make any adjustments. If you do find yourself having to adjust the tray, it is likely that there are alignment issues that will create a thicker restoration.
6. Scan the Universal Scan Bodies®
Prior to scanning remove any blood, moisture or debris before scanning. The scan will be performed in the patient mouth for accuracy.
STV Tray® with Putty material.
Scan the occlusion from left to right, then scan the lingual/facial and finish by going over each scan body. No need to scan the tray or the putty. The only important part to capture are the scan bodies.
7. Place the Bullets® and scan the tissue area
Remove the
IMPORTANT NOTE:
Please take the time to thoroughly complete our Post-Surgery Data Set Rx™ so we can accurately design your patient proposal.


